Charcoal Drawing Techniques For Beginners
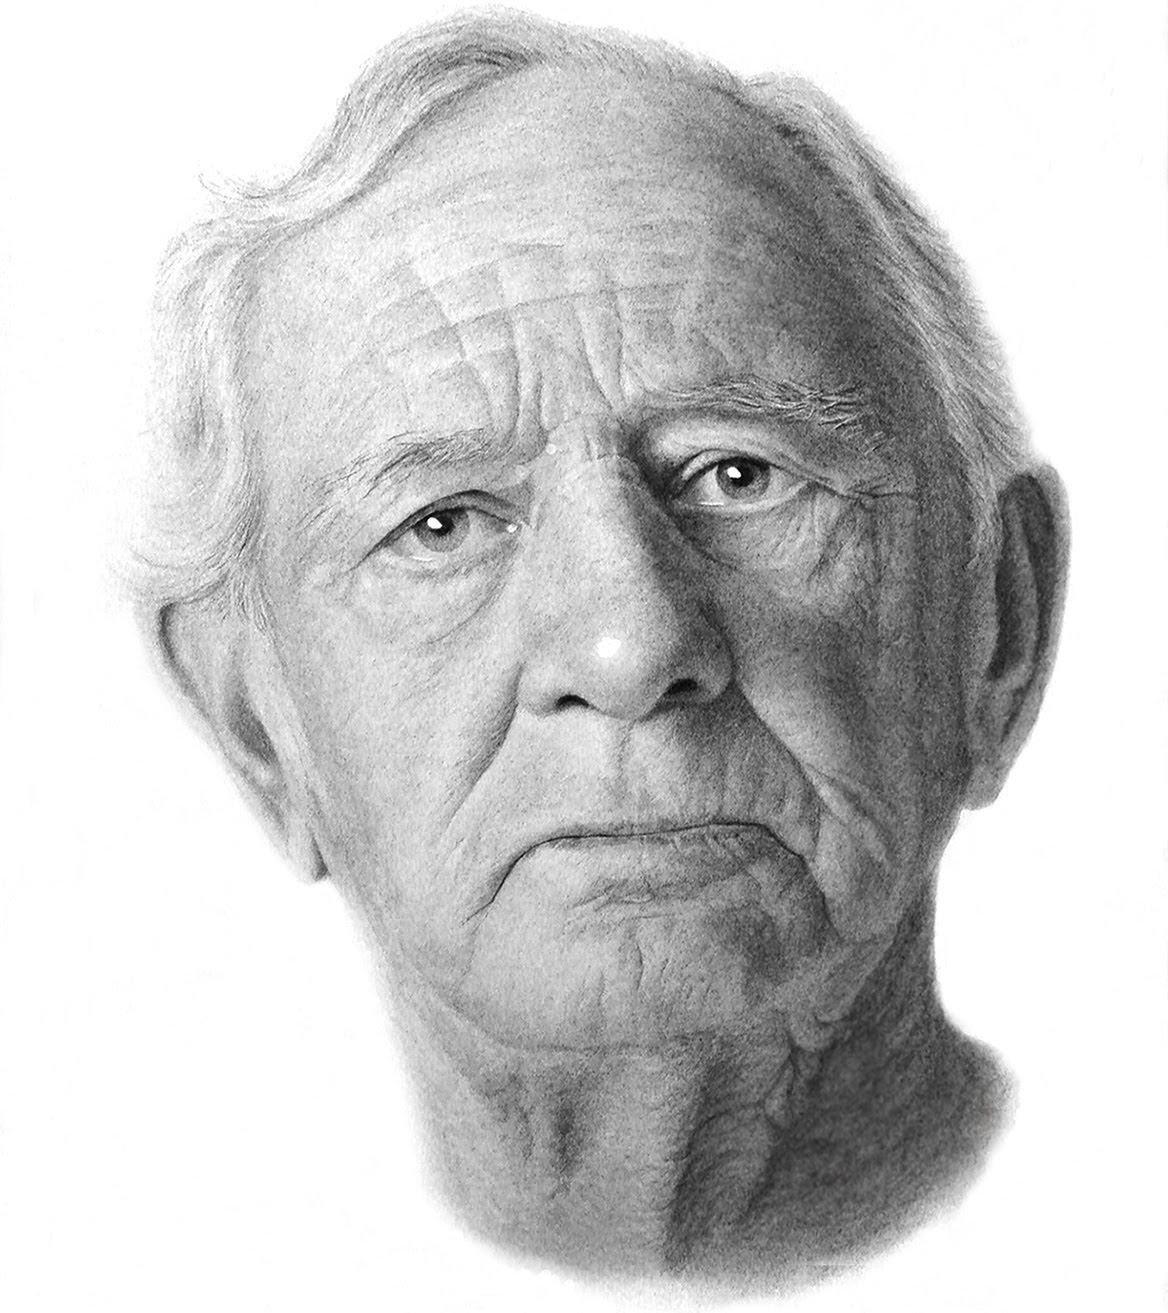
Art beginners charcoal drawing techniquesHave you always been an admirer of charcoal drawings? We are sure that if you are not one right now, you will become an admirer once you have seen some beautiful examples of charcoal painting, because there is a certain charm and magic to them that will leave you captivated. And if you are already a fan and are eager to learn how to do this, then we hope this article will open your eyes to the possibilities. That is why you we request you to read on so that you can learn some tips about compelling and creative charcoal drawings to capture your eyes so that you can also try your hand at this.
If you come to think about it, you will realize that there is a primitive draw to charcoal drawings because it would have to be the first supply that would have been available to our forefathers in the past. There were hardly paint and art supply shops for people to walk in to and buy the kind of supplies that they want or need. In fact, if you look at primitive and descriptive cave paintings, you will realize that they were not just a creative indulgence, but also a way to record the way of life in those days. The thing is they had to make their own art supplies and one of the easiest way to do this was by picking up pieces of charcoal lying around and using them to express their creativity on the walls of the cave.

That is probably the draw that you feel when you look at charcoal drawings and make you want to learn the concepts around this, which is why we give you some tips on how to get started:

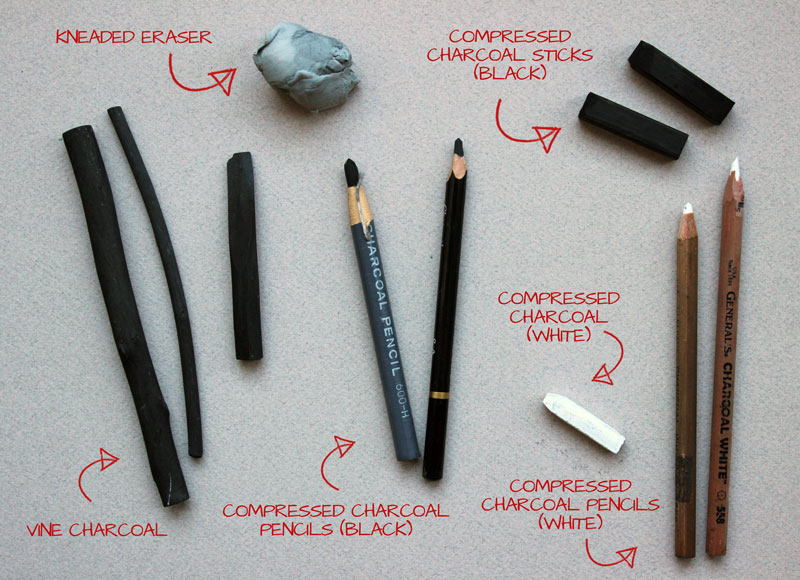
The first thing to know is that charcoal is basically a burnt material which is organic and in most instances wood. There are two types, one being vine charcoal which is burnt willow wood and this charcoal is easy to use and erase. It smudges easily and makes a lighter mark. The other type is compressed charcoal which is bound by gum and tends to be darker than vine charcoal. Though harder to erase and smudge, this comes in handy for certain effects that you need to create.

The tools you will need to draw with charcoal of course include both types of charcoal, vine and compressed in the pencil form. They you will kneaded eraser, which is a special eraser that allows the material to be lifted of the surface when applied to surface, which is handy with charcoal drawing.


Another thing that you will need is the blending stump, which will let you blend, spread and smear the charcoal. You can always make your own by rolling paper tightly to be used as the blending stump. Yet another supply you need to keep at hand is a handful of paper towels to clean the mess you will be making when you try to draw charcoal drawings on a flat surface.

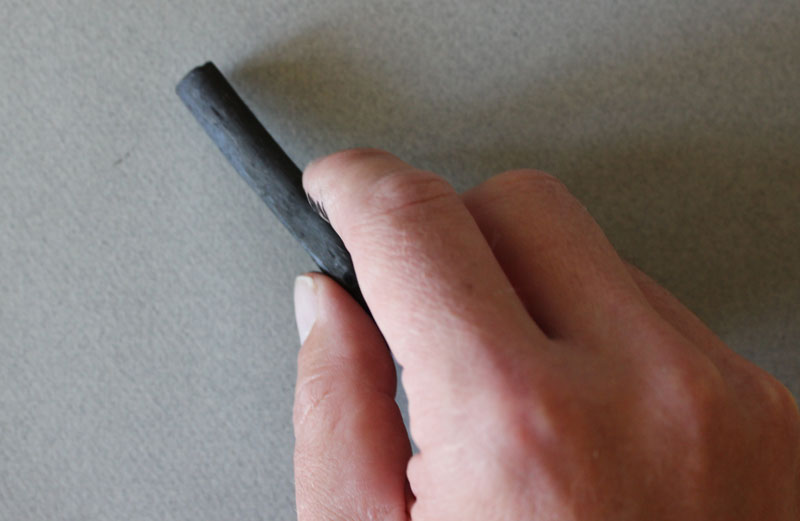
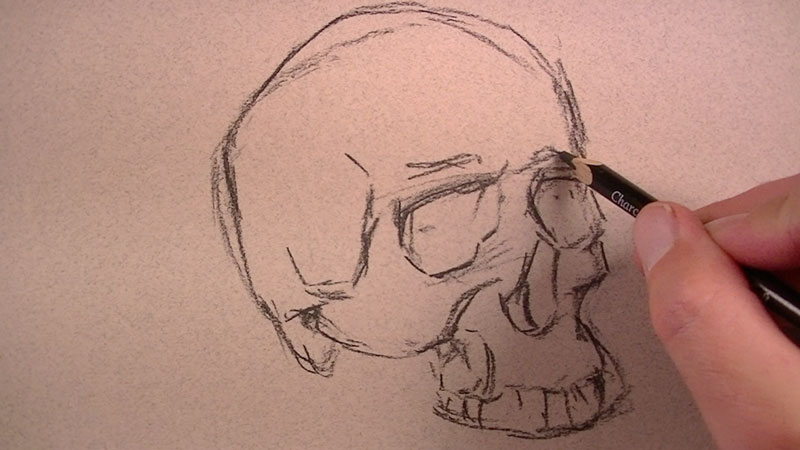
There are particular ways to hold the charcoal, which in most instances would be to hold the compressed and vine charcoal sticks between the forefinger and the thumb with the palm faced towards the paper. If you are creating details, hold the charcoal just like you would a pencil to have the control that you require.

Another important factor to remember by finishing charcoal drawings is that you need to fix it once you are done because they can be very dusty. There are many types of fixatives that you can use to ensure that the drawing you have done stays that way. The best idea at least in the beginning, would be to leave the drawing alone for some time (keep it in a safe place in the meanwhile) and then apply the fixative. You can spray it on but do so with care and in a place that has air circulation to avoid fumes. The thing is the actual drawing part with charcoal works pretty much the same as it would with other kind of pencils but takes a bit more practice to master.
If you come to think about it, you will realize that there is a primitive draw to charcoal drawings because it would have to be the first supply that would have been available to our forefathers in the past. There were hardly paint and art supply shops for people to walk in to and buy the kind of supplies that they want or need. In fact, if you look at primitive and descriptive cave paintings, you will realize that they were not just a creative indulgence, but also a way to record the way of life in those days. The thing is they had to make their own art supplies and one of the easiest way to do this was by picking up pieces of charcoal lying around and using them to express their creativity on the walls of the cave.
That is probably the draw that you feel when you look at charcoal drawings and make you want to learn the concepts around this, which is why we give you some tips on how to get started:
The first thing to know is that charcoal is basically a burnt material which is organic and in most instances wood. There are two types, one being vine charcoal which is burnt willow wood and this charcoal is easy to use and erase. It smudges easily and makes a lighter mark. The other type is compressed charcoal which is bound by gum and tends to be darker than vine charcoal. Though harder to erase and smudge, this comes in handy for certain effects that you need to create.
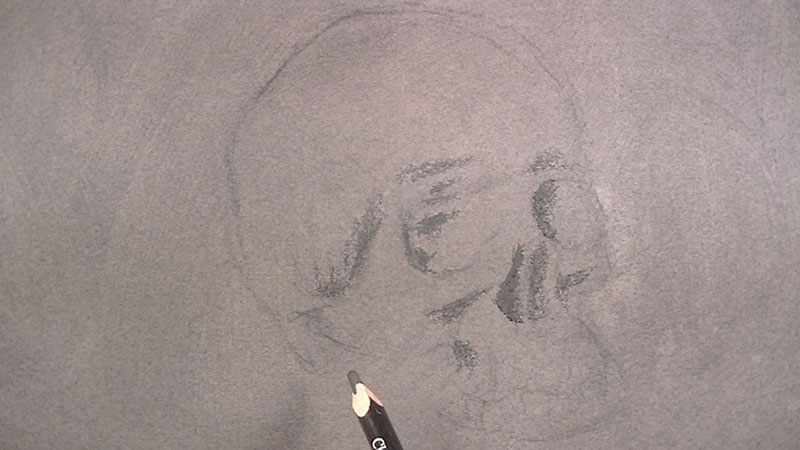
The tools you will need to draw with charcoal of course include both types of charcoal, vine and compressed in the pencil form. They you will kneaded eraser, which is a special eraser that allows the material to be lifted of the surface when applied to surface, which is handy with charcoal drawing.
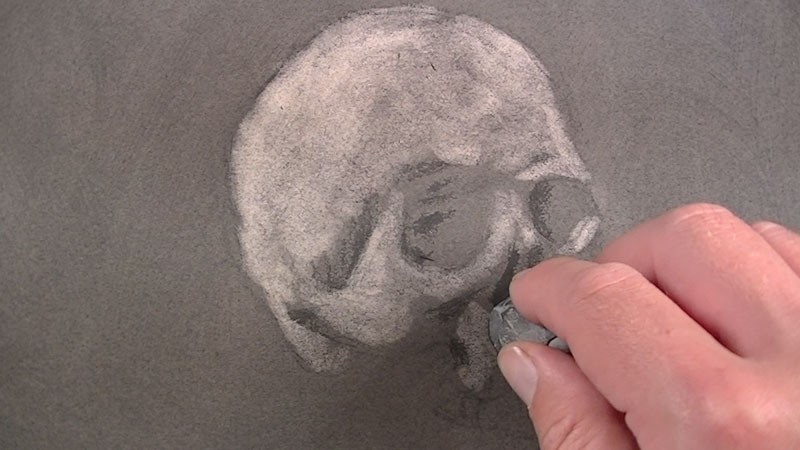
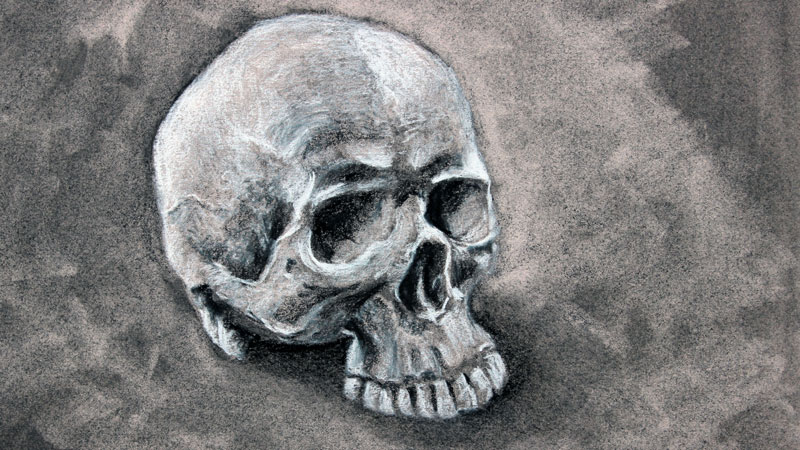
Another thing that you will need is the blending stump, which will let you blend, spread and smear the charcoal. You can always make your own by rolling paper tightly to be used as the blending stump. Yet another supply you need to keep at hand is a handful of paper towels to clean the mess you will be making when you try to draw charcoal drawings on a flat surface.
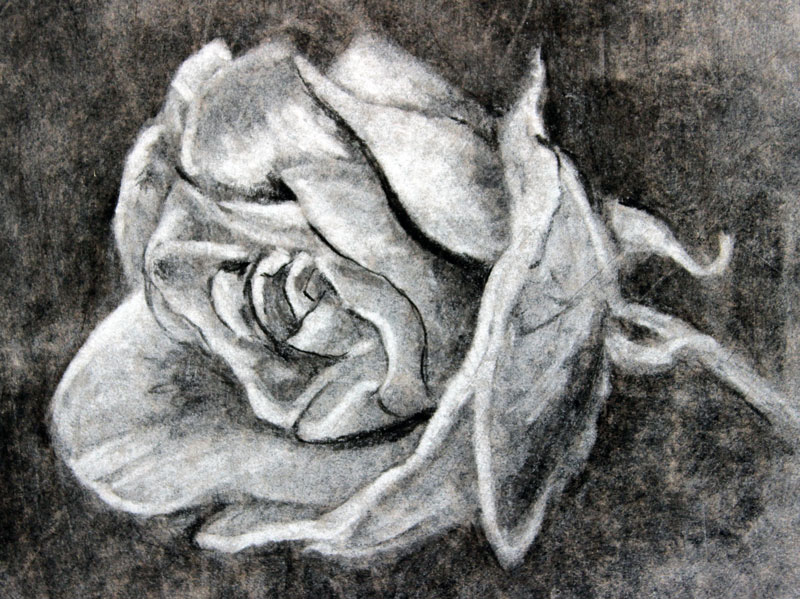
There are particular ways to hold the charcoal, which in most instances would be to hold the compressed and vine charcoal sticks between the forefinger and the thumb with the palm faced towards the paper. If you are creating details, hold the charcoal just like you would a pencil to have the control that you require.
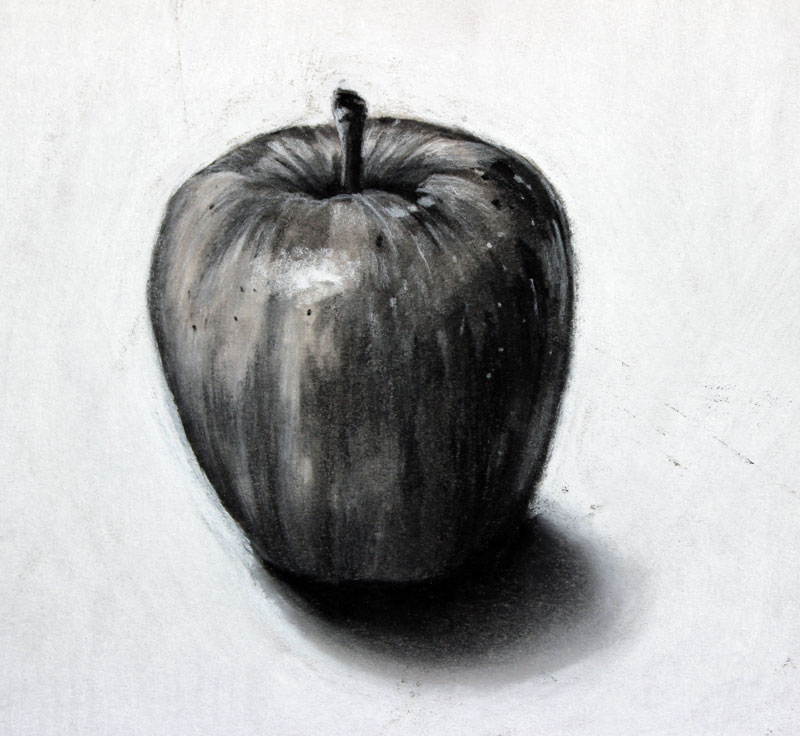
Another important factor to remember by finishing charcoal drawings is that you need to fix it once you are done because they can be very dusty. There are many types of fixatives that you can use to ensure that the drawing you have done stays that way. The best idea at least in the beginning, would be to leave the drawing alone for some time (keep it in a safe place in the meanwhile) and then apply the fixative. You can spray it on but do so with care and in a place that has air circulation to avoid fumes. The thing is the actual drawing part with charcoal works pretty much the same as it would with other kind of pencils but takes a bit more practice to master.