20 Watercolor Techniques That You Should Know To Become A Superb Artist
Art become know should techniques that watercolorIf you are an artist, who likes to use watercolors to paint, then you will surely love what this article has to say because this will give you many hints on how to become a better artist in this medium. Right from easy pastel paintings for beginners to techniques on creating textured looks, you will find this article very useful. After you finish reading this article, you can also look up to read through a tutorial about brushes and learn all you wanted to know about them. While you are at it, you can also learn more about the finer points of finger painting so that you can probably try your hand at that too.
However, before you jump into exploring all there is to know about watercolors, we suggest that you look through these tips with a detailed view so that you know what you are dealing with.

Purchase a good brush range: For you to be able to paint well with watercolors, you will need to have a range of brushes that you will use so that you can get the broader strokes as well as the tiny nuances right.

Invest in quality paints: It is a good idea to buy some good quality paints so that you get the right colors and finish when you are done painting. This way you will never have to worry about the painting fade out due to the passage of time.
Experiment with dry and wet: As you keep using watercolors, you will realize that some artworks work better when wet whereas others have to be dry. You keep experimenting to figure how this works.

Move from light to dark: When it comes to adding dark accents and light ones, the first that you should work with is light.

Have a lot of tissues handy: You will find these handy when you are painting to clean up as well as add interesting touches.

Splatter technique: Putting some paint on the brush edge and then splattering on the painting surface is a great technique to add those tiny dots that make a picture better.

Bloom it right: One of the way you can make the bloom look good is by letting one color bleed into another with a light application of water.

Work on textures: You have to apply layers and play around with colors and brushes to get the textures on the painting right.

Pull out color: By letting a thick layer of paint dry and then using a wet brush on it to drag out color is a good way to pull out color.

Color layering: Since the nature of watercolors is about being light and thin, you will need to figure out ways to build up inner color by careful application of layers of paint one over the other by letting the earlier layer dry first.

Scumbling: Add paint on a layer and then keep adding water to the color to blend and make it look soft.

Lift color: You can gently use your brush to lift away colors from the painting by using your brush to do so but you will have to do it gently and slowly.

Use salt: Adding some salt to wet watercolor when it is freshly painted is a good way to add texture on the painting.

Sponge: One of the best household item to make paints look softer or to add some kind of texture, is by using a sponge but do so gently and slowly.

Negatives: Plan the areas where you need to keep it white and light and plan your paints around it. This way you will have to create negative spaces on the painting.

Use tape: For those areas where you do not want the colors to stick and spread, mask them with tape to keep the white and clean. You may remove the tape once it is dry.

Light: Add paint and then dab away with it using water to create a light like effect.

Pull colors and layers: When you want to show layers that are fading out, simply borrow from the layers painted first with thick and intense color.

Dry and layer: Let one layer of paint to dry before applying another one.

Fine details last: Only once you are done with the complete picture and the lighter areas, should you apply the finer details or else the effect will not be as good.
However, before you jump into exploring all there is to know about watercolors, we suggest that you look through these tips with a detailed view so that you know what you are dealing with.
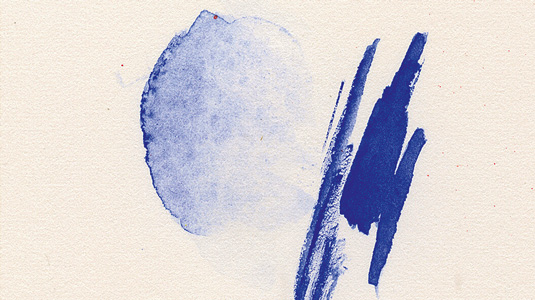
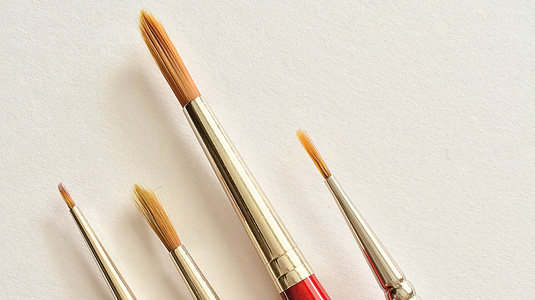
Purchase a good brush range: For you to be able to paint well with watercolors, you will need to have a range of brushes that you will use so that you can get the broader strokes as well as the tiny nuances right.

Invest in quality paints: It is a good idea to buy some good quality paints so that you get the right colors and finish when you are done painting. This way you will never have to worry about the painting fade out due to the passage of time.
Experiment with dry and wet: As you keep using watercolors, you will realize that some artworks work better when wet whereas others have to be dry. You keep experimenting to figure how this works.

Move from light to dark: When it comes to adding dark accents and light ones, the first that you should work with is light.
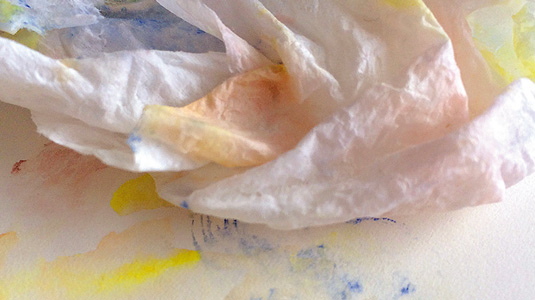
Have a lot of tissues handy: You will find these handy when you are painting to clean up as well as add interesting touches.
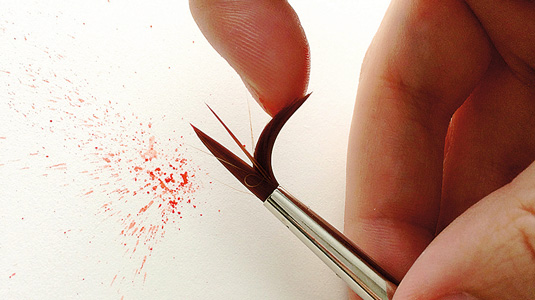
Splatter technique: Putting some paint on the brush edge and then splattering on the painting surface is a great technique to add those tiny dots that make a picture better.

Bloom it right: One of the way you can make the bloom look good is by letting one color bleed into another with a light application of water.
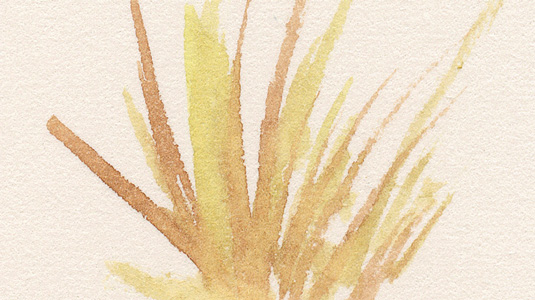
Work on textures: You have to apply layers and play around with colors and brushes to get the textures on the painting right.

Pull out color: By letting a thick layer of paint dry and then using a wet brush on it to drag out color is a good way to pull out color.

Color layering: Since the nature of watercolors is about being light and thin, you will need to figure out ways to build up inner color by careful application of layers of paint one over the other by letting the earlier layer dry first.

Scumbling: Add paint on a layer and then keep adding water to the color to blend and make it look soft.

Lift color: You can gently use your brush to lift away colors from the painting by using your brush to do so but you will have to do it gently and slowly.
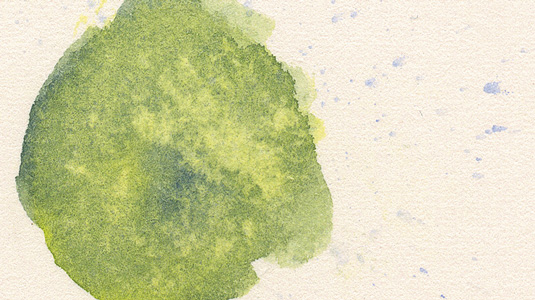
Use salt: Adding some salt to wet watercolor when it is freshly painted is a good way to add texture on the painting.

Sponge: One of the best household item to make paints look softer or to add some kind of texture, is by using a sponge but do so gently and slowly.

Negatives: Plan the areas where you need to keep it white and light and plan your paints around it. This way you will have to create negative spaces on the painting.

Use tape: For those areas where you do not want the colors to stick and spread, mask them with tape to keep the white and clean. You may remove the tape once it is dry.
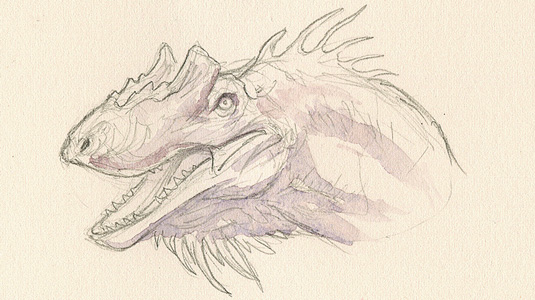
Light: Add paint and then dab away with it using water to create a light like effect.
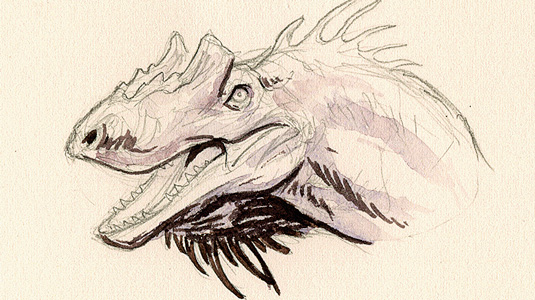
Pull colors and layers: When you want to show layers that are fading out, simply borrow from the layers painted first with thick and intense color.

Dry and layer: Let one layer of paint to dry before applying another one.
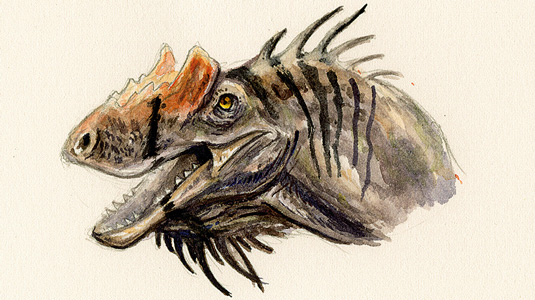
Fine details last: Only once you are done with the complete picture and the lighter areas, should you apply the finer details or else the effect will not be as good.